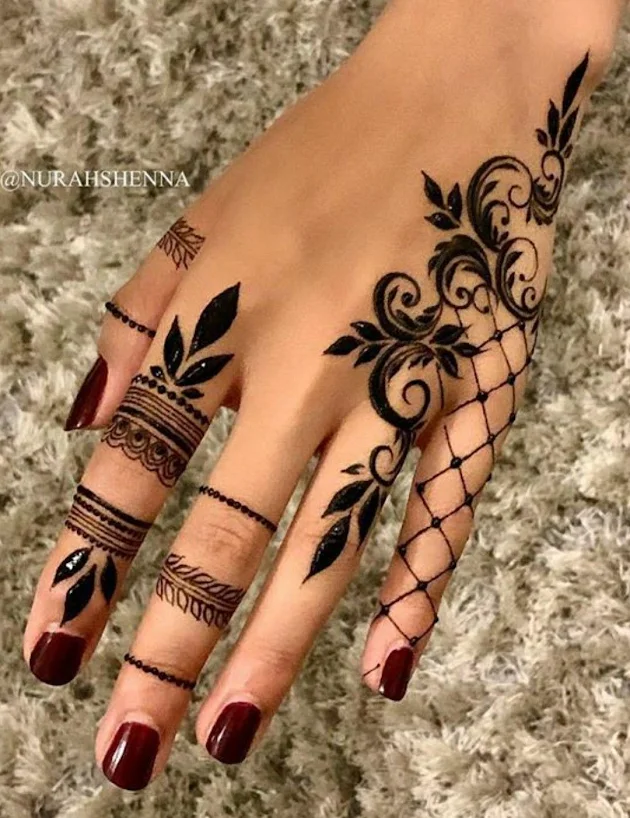
7 Things About Simple Henna Designs You'll Kick Yourself for Not Knowing
Henna is a natural dye that has been used for centuries to create beautiful temporary tattoos on the skin. It is a fun and easy way to express your creativity, and it is perfect for special occasions such as weddings, parties, and festivals. If you are new to henna and want to learn how to create simple designs, this post is for you!
1. Gather your materials:
To get started, you will need some fresh henna paste, a cone or squeeze bottle for applying the paste, and some cotton swabs or a toothpick for fine details. You can purchase henna paste at a store or online, or you can make your own by mixing the henna powder with water and a little bit of lemon juice.
2. Practice your strokes:
Before you start creating your design, it is a good idea to practice your strokes on a piece of paper. Henna paste is thick and can be difficult to control, so it is important to get a feel for how it flows. You can use different strokes to create different effects, such as thin, fine lines or thicker, bold lines.
3. Choose your design:
Once you feel comfortable with your strokes, it is time to decide on a design. If you are a beginner, it is best to start with something simple such as a flower, heart or paisley pattern. You can find inspiration for designs online or in simple henna design books.
4. Trace your design:
Once you have chosen your Simple henna design, trace it onto your skin using a pen or marker. This will help you to visualize the placement and size of your design.
5. Apply the henna paste:
Using your cone or squeeze bottle, carefully apply the henna paste over the traced lines of your design. You can use a cotton swab or toothpick to add fine details and fill in any gaps.
6. Let the henna paste dry:
After you have applied the henna paste, let it dry completely. This can take anywhere from 30 minutes to several hours, depending on the thickness of the paste and the humidity of your environment. To speed up the drying process, you can use a blow dryer or fan.
7. Peel off the dried paste:
Once the paste is dry, gently peel it off to reveal your Simple henna design. The colour of the design will be light at first, but it will darken over the next 24-48 hours as the henna oxidizes.
That's it! With a little practice and creativity, you can create beautiful and unique henna designs that are perfect for any occasion. Remember to be patient and have fun with it!


.jpg)
.jpg)


Comments
Post a Comment